|
|
|
PDF STR-W550 Data sheet ( Hoja de datos )
| Número de pieza | STR-W550 | |
| Descripción | FM STEREO/FM-AM RECEIVER SERVICE MANUAL | |
| Fabricantes | Sony | |
| Logotipo | ||
Hay una vista previa y un enlace de descarga de STR-W550 (archivo pdf) en la parte inferior de esta página. Total 30 Páginas | ||
|
No Preview Available !
SERVICE MANUAL
STR-W550
Canadian Model
AEP Model
UK Model
E Model
Australian Model
Tourist Model
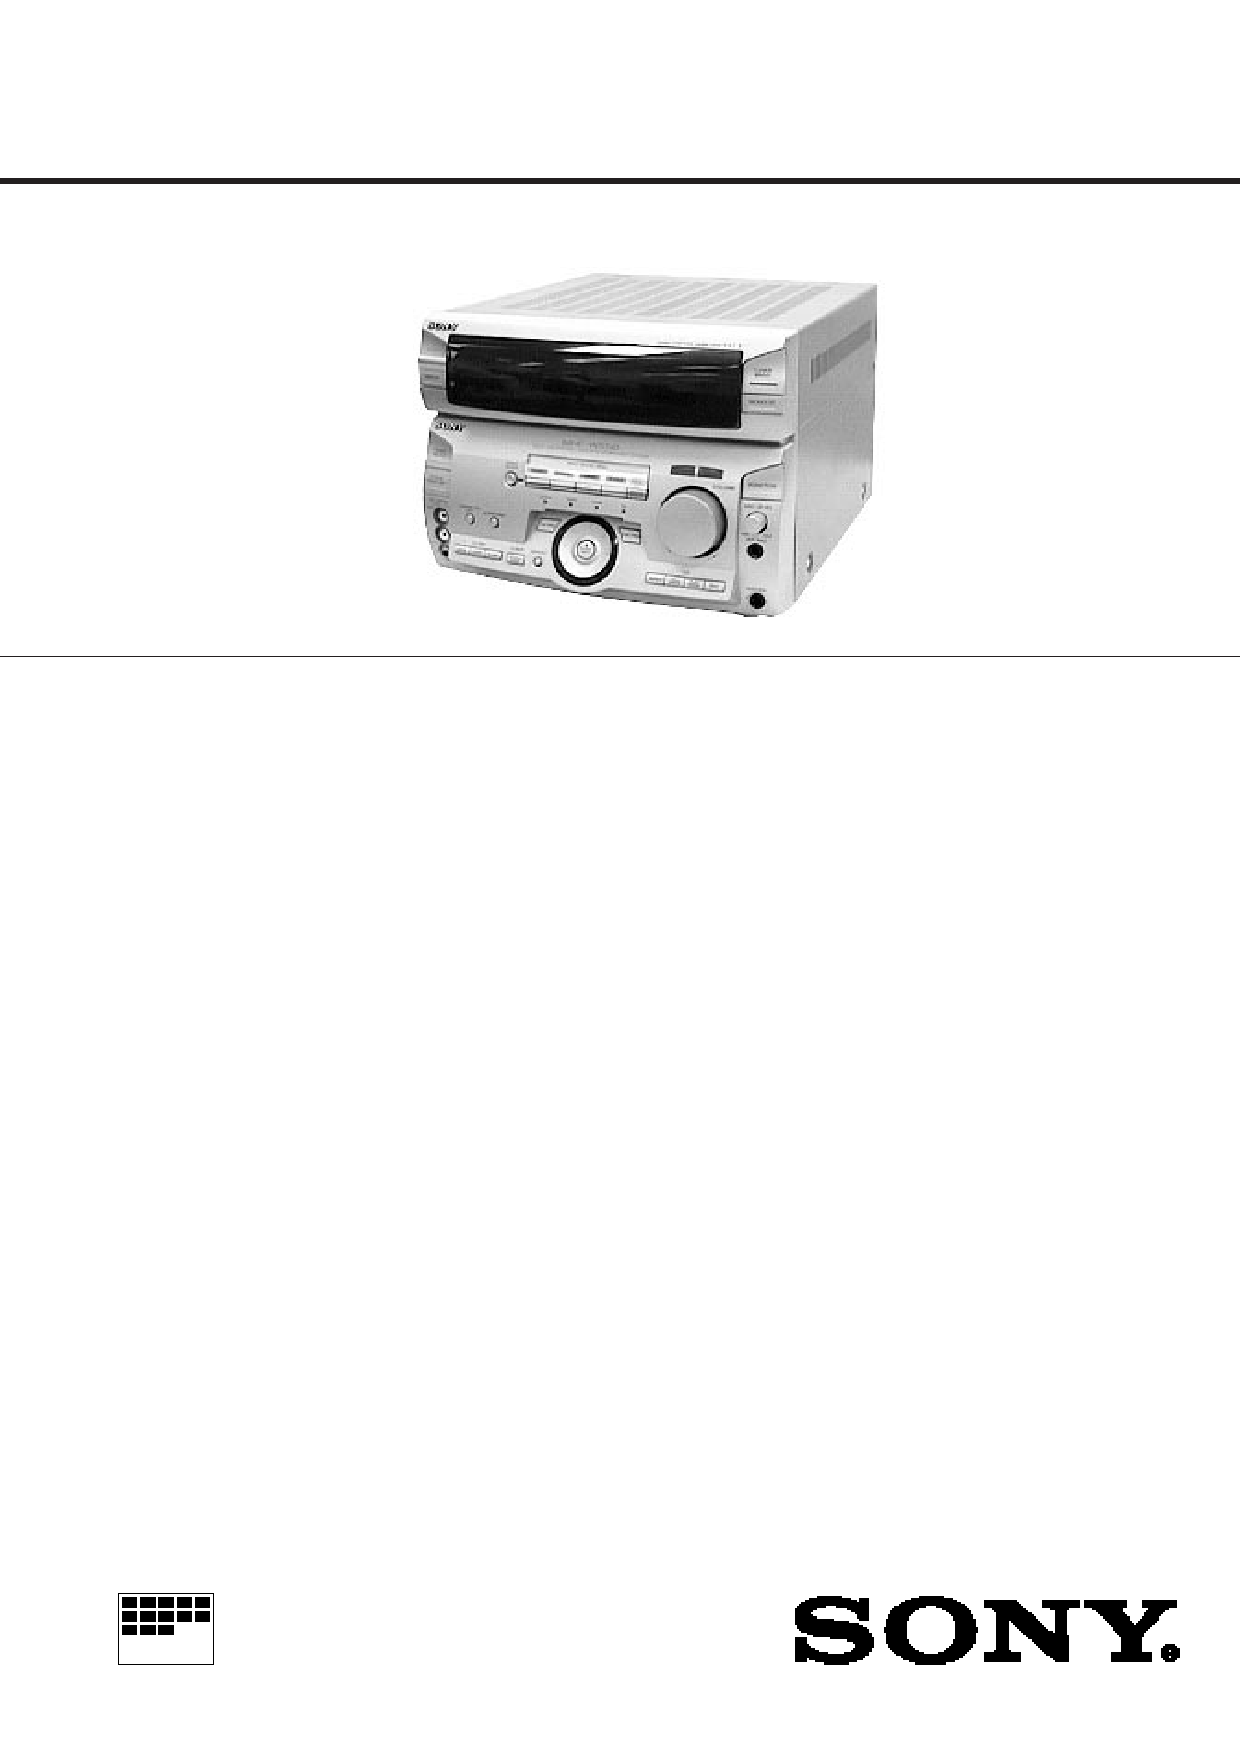
STR-W550 is RECEIVER section in
MHC-W550
SPECIFICATIONS
Tuner section
FM stereo, FM/AM superheterodyne tuner
FM tuner section
Tuning range
87.5-108.0MHz (EXCEPT JE)
76.0-108.0MHz (JE)
Aerial
FM lead aerial
Aerial terminals
75 ohm unbalanced
Intermediate frequency 10.7MHz
AM tuner section
Tuning range
(Canadian,Thai,Argentine,Australian,E2)
AM: 530-1,710kHz
(with interval set at 10kHz)
531-1,710kHz
(with interval set at 9kHz)
(EXCEPT Canadian,Thai,Argentine,
Australian,E2)
MW: 531-1,602kHz
(with interval set at 9kHz)
(AEP,UK)
LW: 153-279kHz
(with interval set at 3kHz)
(EXCEPT AEP,UK,Canadian,Thai,
Argentine,Australian,E2)
SW: 5.95-17.90MHz
(with interval set at 9kHz)
Intermediate frequency 450kHz
Aerial
AM loop aerial,
External aerial terminal
Video section
Inputs
AV INPUT VIDEO
(phone jack) :
1 Vp-p, 75 ohms
MONITOR OUT
(phone jack) :
1 Vp-p, 75 ohms
Amplifier section
DIN power output
Music power output
Inputs
Outputs
80W +80W
(6 ohms at 1kHz, DIN)
190W + 190W
(6 ohms at 1kHz, 10%, THD)
MD/VIDEO 1 IN (phono jacks) : voltage 250 mV,
impedance 47 kilo ohms AV INPUT AUDIO
(phone jacks) : voltage 250 mV, impedance 47
kilo ohms
MIX/MIC (phone jack) :sensitivity 1mV,
impedance 10 kilo ohms
MD/VIDEO 1 OUT
(phone jacks) : voltage 250
mV, impedance 1 kilo ohm
PHONES (stereo phone
jack) : accepts headphone
of 8 ohms or more.
SPEAKER : accepts
impedance of 6 to 16
ohms
SUPER WOOFER :
Voltage 1 V, impedance 1
kilo ohms
— Continued on next page —
E2 : Tuner sections SW band do not exist.
FM STEREO/FM-AM RECEIVER
MICROFILM
1 page 
SECTION 2
TEST MODE
FL DISPLAY/KEY LED TEST MODE
Press the REPEAT, ENTER/NEXT and SURROUND buttons
simultaneously.
1. All FL segments and all LEDs turn on.
2. To access the microprocessor information, press the P FILE
key. Each pressing of the P FILE key advances the display on
the FL tube in the following sequence.
STR microprocessor version number
HCD microprocessor version number
VCD microprocessor version number (VCD model only)
Model name
Destination
3. To check the encoder, press the MUSIC key. The following
display appears on the FL tube.
"K 0 J 0 V 0"
The number after K indicates the number of times that the key is
pressed. The key which was pressed in the past, is not counted.
The key which is pressed hereafter is counted. Pressing any key
increases the number after K.
The number after J indicates the number of rotations that the JOG
dial is rotated. Turning the JOG dial clockwise increases the number
after J. Turning the JOG dial counter-clockwise decreases the
number after J.
AGING MODE
1. CD aging mode
To execute the CD aging, set the three discs to the CD tray and
set the function to CD. REPEAT, ENTER/NEXT and LOOP
buttons simultaneously. The CD aging mode starts and the disc
calendar starts blinking.
2. Tape aging mode
To execute the tape aging, set the two tapes to the tape A and B
drives. Set the function to TAPE. Press the REPEAT, ENTER/
NEXT and LOOP buttons simultaneously. Press the A forward
key to start the tape aging mode. "AGING" appears on the
display.
CD SERVICE MODE
Turn on the main power. Press the REPEAT, ENTER/NEXT and
KARAOKE PON/MPX buttons simultaneously.
VACS toggles between ON and OFF.
VACS LEVEL DISPLAY
Turn on the main power. Press the EDIT, ENTER/NEXT and
KARAOKE PON/MPX buttons simultaneously.
VACS level appears on the display.
CD SHIP MODE
Turn on the main power. Press the PLAY MODE and POWER
buttons simultaneously.
The main power is turned off and LOCK appears on the display.
The number after V indicates the number of rotations that the
VOLUME dial is rotated. Turning the VOLUME dial clockwise
increases the number after V. Turning the VOLUME dial counter-
clockwise decreases the number after V.
To exit this mode, perform the "Cold Reset" (reset clearing memory)
as described below.
TUNER STEP CHANGE
Turn on the main power. Set the function to TUNER. Select MW
band from the present tuning.
Turn off the main power. Press the ENTER/NEXT and POWER
buttons simultaneously. The main power is turned on and the
changed step appears on the display.
GENERAL TEST MODE
(INCLUDING AMPLIFIER AND TUNER)
Press the REPEAT, ENTER/NEXT and CLOCK TIMER SET
buttons simultaneously while the main power is on.
1. Sound volume display segment starts blinking.
2. The tuning enters the PRESET mode.
3. Rotating the VOLUME control clockwise increases the volume
level to maximum.
Rotating the VOLUME control counter-clockwise decreases
the volume level to minimum.
4. Pressing the MUSIC key decreases the equalizer curve to
minimum and "EQ CHECK" appears on the display.
Pressing the MOVIE key increases the equalizer curve to
maximum.
Pressing the GAME key makes the equalizer curve flat.
5. Pressing any of the DBFB, GROOVE or SURROUND key
disappears "EQ CHECK" on the display.
To exit this mode, perform the "Cold Reset" (reset clearing memory)
as described below.
MD/VIDEO 1 FUNCTION CHANGE
Press the FUNCTION and POWER buttons simultaneously while
the main power is on. When the function is set to VIDEO 1, the
function is changed to MD and MD appears on the display.
When the function is set to MD, the function is changed to VIDEO
1 and VIDEO 1 appears on the display.
COLD RESET (Reset which clears memory.)
Press the REPEAT, ENTER/NEXT and DISPLAY buttons
simultaneously at any time. The system is reset while clearing
memory.
HOT RESET
(Reset which does not clear memory.)
Press the REPEAT, ENTER/NEXT and TIMER SELECT buttons
simultaneously at any time. The system is reset without clearing
memory.
SECTION 3
ELECTRICAL ADJUSTMENTS
(AEP, UK, East European, CIS model)
Note: As a front-end (FE1) is difficult to repair if faulty, replace it
with new one.
AM Section Adjustment
Setting:
loop antenna
loop antenna
(Supplied accessories)
AM RF SSG
30% amplitude
modulation by
400 Hz signal
set
60 cm
AM ANTENNA
terminal (TM1)
Field strength dB (µV/m) =SSG output level dB (µV/m) –26 dB.
AM Tuned Level Adjustment
Band: AM or MW
Procedure:
1. Set the output of SSG so that the input level of the set becomes
55 dB.
2. Tune the set to 999 kHz.
3. Adjust RV41 to the point (moment) when the TUNED indicator
will change from going off to going on.
Adjustment Location : TCB board
FM Section Adjustment
Note: This adjustment should be performed after the AM Tuned
Level Adjustment due to the same adjustment element.
Setting:
FM RF stereo signal
generator
75 Ω coaxial
Adjustment Location:
[TCB BOARD] (Component Side)
IC41
RV41
RV42
TM1
FE1
set
Carrier frequency : 98 MHz
Modulation
: AUDIO 1 kH, 75 kHz
deviation (100%) FM ANTENNA terminal
(TM1) (75 Ω open)
FM Tuned Level Adjustment
Band: FM
Procedure:
1. Supply a 25 dBµ 98 MHz signal from the ANTENNA terminal.
2. Tune the set to 98 MHz.
3. If the TUNED indicator does not light, adjust RV42 to the point
(moment) when the TUNED indicator will change from going
off to going on.
Adjustment Location: TCB board
–5–
–6–
(East European, CIS model)
FM Polar Adjustment
FM RF SSG
75 Ω coaxial
set
Connection 1:
FM ANTENNA terminal
(75 Ω)
Carrier frequency : 69 MHz
Output level : 1mV (60dBµ) (at 75 Ω open)
Modulation
: AUDIO 1 kHZ, 10kHz deviation
AF OSC
FM RF SSG
75 Ω coaxial
Audio 31.25 kHz
external
modulation
terminal
set
FM ANTENNA terminal
(75 Ω)
Procedure :
1. Set the modulation of FM RF SSG to AUDIO 1 kHz, 10 kHz
deviation according to "Connection 1".
2. Tune the set to 69 MHZ.
3. Adjust the RV1702 so that the reading of frequency counter
connected to TP1702 becomes within 31.25 kHz ± 0.05
kHz.(VCO adjustment)
4. Then record the reading of the level meter connected to TP1701
5. Set the modulation of FM RF SSG to AUDIO 31.25 kHz, 10
kHz deviation according to "Connection 2".
6. Tune the set to 69 MHz.
7. Set the CT1701 to be mechanical center.
8. Adjust the L1701 so that the reading of the level meter connected
to TP1701 become maximum.
Then adjust the CT1701 so that the reading of the level meter
connected to TP1701 becomes maximum. (SUB CARRIER
PEAK Adjustment)
9. Adjust the RV1701 so that the level at the moment becomes
14dB higher value than the level recorded in step 4. (SUB
CARRIER LEVEL Adjustment)
Connection 2:
Carrier frequency : 69 MHz
Output level : 1mV (60 dBµ) (at 75 Ω open)
Modulation
: AUDIO 31.25 kHZ, 10 kHz deviation
(EXTERNAL MODULATION)
Adjustment Location : (East European, CIS model)
[TCB BOARD] (Component Side)
RV41
AM tuned level
Adjustment
RV41
TM1
RV1701, TP1701
Sub carrier level
Adjustment
CT1701, L1701, TP1701
Sub carrier peak
Adjustment
IC41 RV42
FE1
RV1701
L1701
CT1701
(FILTER) TP1701
RV1702, TP1702
VCO Adjustment
IC1701
TP1702
(VCO)
RV1702
RV42
FM tuned level
Adjustment
LEVEL METER
+
–
FREQUENCY COUNTER
+
–
–7–
5 Page 
11 Page | ||
| Páginas | Total 30 Páginas | |
| PDF Descargar | [ Datasheet STR-W550.PDF ] | |
Hoja de datos destacado
| Número de pieza | Descripción | Fabricantes |
| STR-W550 | FM STEREO/FM-AM RECEIVER SERVICE MANUAL | Sony |
| STR-W555 | FM STEREO/FM-AM RECEIVER SERVICE MANUAL | Sony |
| Número de pieza | Descripción | Fabricantes |
| SLA6805M | High Voltage 3 phase Motor Driver IC. |
Sanken |
| SDC1742 | 12- and 14-Bit Hybrid Synchro / Resolver-to-Digital Converters. |
Analog Devices |
|
DataSheet.es es una pagina web que funciona como un repositorio de manuales o hoja de datos de muchos de los productos más populares, |
| DataSheet.es | 2020 | Privacy Policy | Contacto | Buscar |